featured Slider

Ad Block

Festival Style: Crystal Geode Nail Art

Matte Crystal Geode Nails by knailart
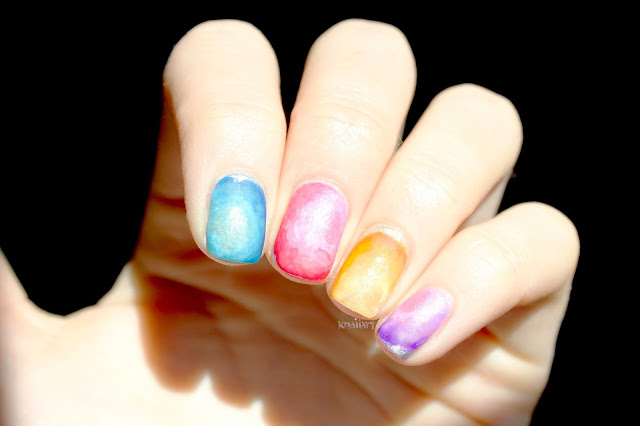
These matte crystal geode nails are the perfect festival season accessory! We started with a silver sparkly base around the edges, and a clear sparkly base on the rest of the nail—perfection isn't required! After that, we used a thin coat of OPI's Sheer Tints to start off each nail followed by various similar shades from lightest at the inside of each 'crystal' to darkest at the edge of the silver shade. We dripped some acetone over the nails (and blew dry!) before finishing with top coat to get the finished smoky look.

Crystal Geode Nails by knailart


 We love how these look matte, but they are much more realistic when left shiny. Let us know if you try something like this out, and happy polishing!

Fresh Fun Rainbow Nail Art for Spring!

Rainbow Nails for Spring!
 Spring is here and we've taken some inspiration from the copious of mini eggs we've consumed (as pictured above). We used 8 different colours with a pastel and bright shade of each to create this fun look!

A close up of our Rainbow Nails for Spring!

NOTD: Matte Pastel Florals for Spring

Matte Spring Floral Nails with Deborah Lippmann 'Glitter in the Air' as the base
As Spring (slowly!) begins, today's NOTD are these spring florals using Deborah Lippmann 'Glitter in the Air' as the base - a fabulously minty glitter that is the perfect backdrop for these beauties!

Happy polishing!

DIY: Plan your nail art with the knailart nail art template!

Check it out! We created this template to plan our nail art and keep track of the polishes we're using. 

Print this out and write down the polish names, add a quick swatch, and sketch or draw on your designs! We've included it here as a photo file that you can save and print, or you can download the larger pdf version here!


Share your creations with us on Instagram with the #knailart!

TUTORIAL: Green Flash Gradient Summer Nails!

Hey everyone!

We tried to match our ultimate summer favourites - our Ray Ban Green Flash aviators! We used a sponged gradient of O.P.I. Angel with a Leadfoot, Essie Vices Versa, Sally Hansen Dive In, and Essie I'm Addicted over two coats of O.P.I. Push & Shove to create this super fun look. Check out the video tutorial to see how we did it!


This looks super amazing in the sun... If you try it out, let us know by tagging us @knailart or using the #knailart everywhere social!
Our Bio Sculpture Gel Experience + Feather Nail Art!

We have always considered gel nails, as when we have a nail break it impacts the size of our tiny canvases! We decided to take the plunge and try out Bio Sculpture Gel nails with Bio Sculpture Gel Canada - and we were super excited with the result!

Bio Sculpture Gel is the only gel to have a clinical trial and a five-star safety rating, and soak off without acetone! We wore these for two weeks before our impatience kicked it, but we think we could have stretched it one or two more weeks (if we didn't have polish ADD).

Bio Sculpture Gel has three different options for flexibility, and we went with Flexi gel - the medium option! The free edge gel was added to extend the natural nail, and after buffing we were left with gorgeous, completely natural looking nails! We were totally impressed... and if you want to see the 'before' shot, click here.

We then decided to go with a bright blue coloured gel shade from their Carnival trend collection - it's number 175, Havana Nights. After that, we topped the look off with some fun feathered nail art!

Check out the progression of our mani below, and let us know if you've tried out Bio Sculpture Gel!


Disclaimer: Some of the products or services mentioned in this post may have been provided by the company/PR in exchange for our honest review.

NOTD: Minions!

Minion Nail Art with Bananas! thumb